

Showing posts with label bandai. Show all posts
Showing posts with label bandai. Show all posts
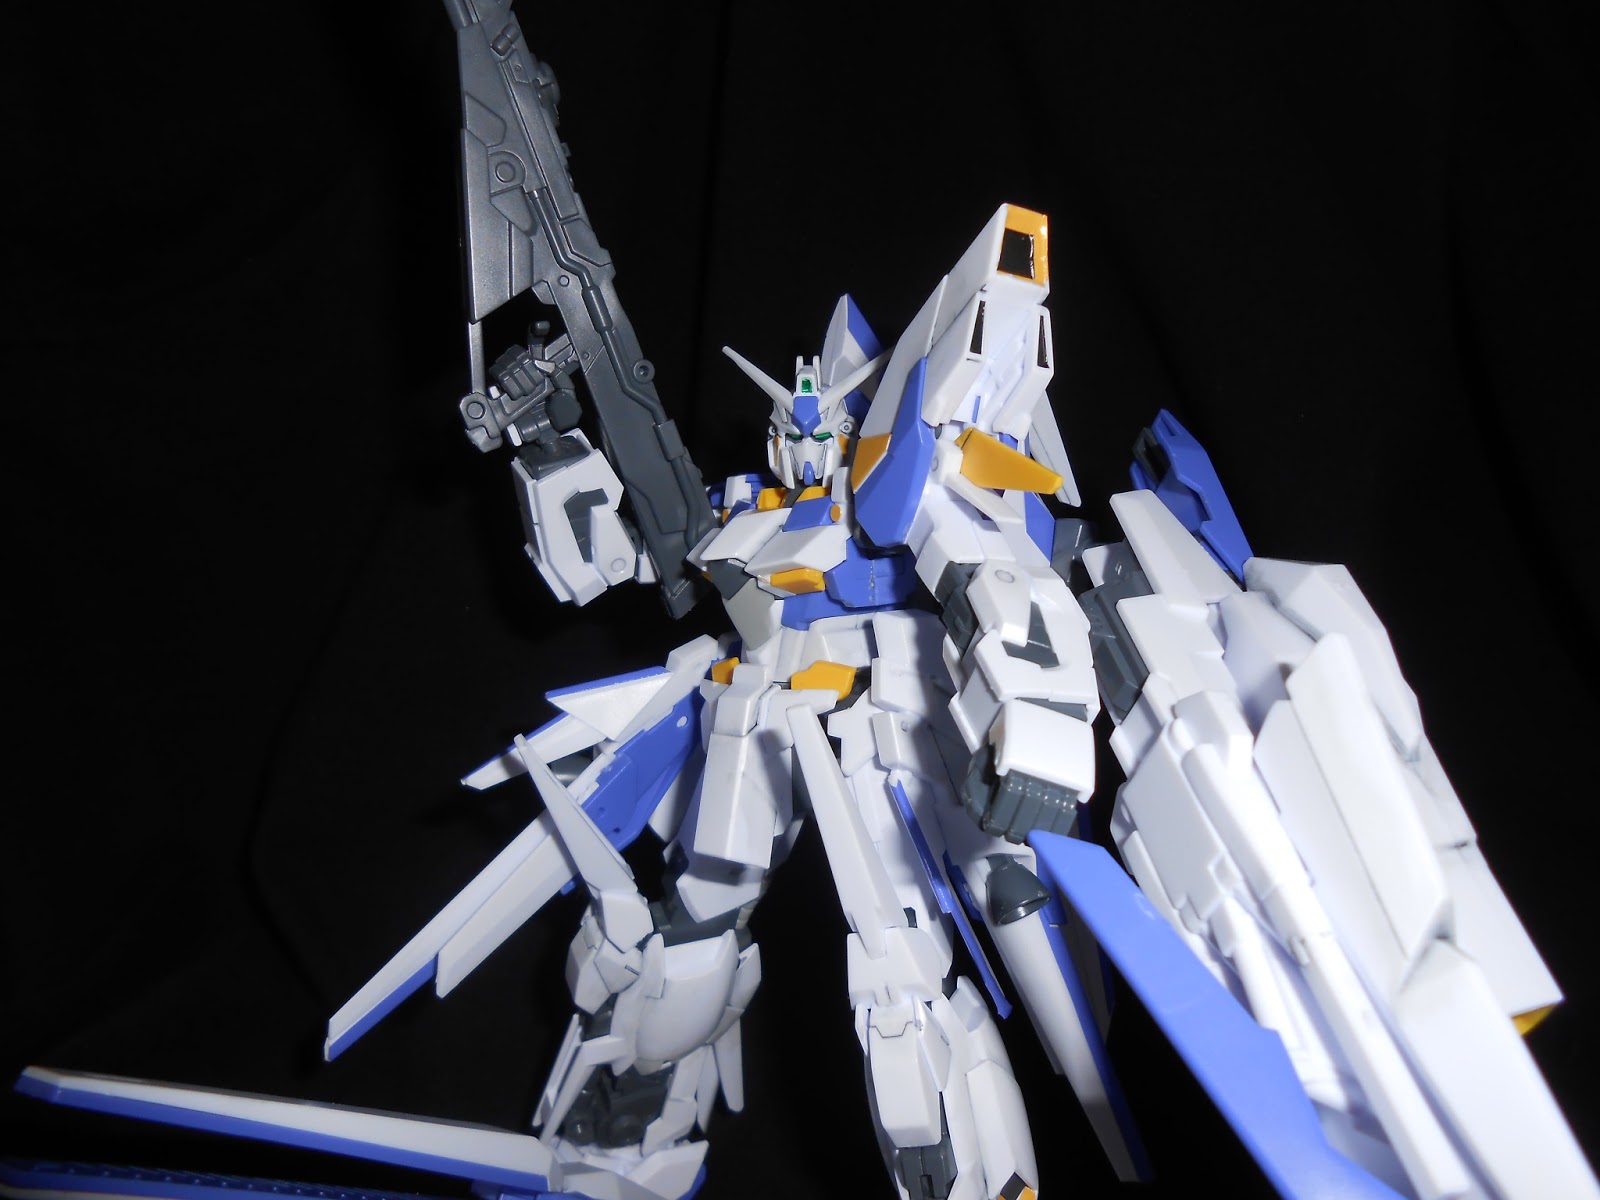
Thursday, May 7, 2015
Wednesday, February 20, 2013
F91 Wip 2/complete Zudah unbox.
I set out to finish snapping my f91 together tonight, and accomplished said task. I did a little more detailing on the inner frame and panel lined most everything (still need to do shoulders and weapons) as well as snapping the base together and some lame poses until I decide to take some proper photos. so here's what I've done followed by a little more :D
 Not the neatest. my toothpick wouldn't pick up enough paint, or go in the vents well enough for a decent coverage. but this is all covered anyway. i need to invest in some super fine brushes :P
Hit the jump for more pictures of the F91, and my Zudah unboxing!

Hit the jump for more pictures of the F91, and my Zudah unboxing!
Monday, February 11, 2013
Master Grade F91 unboxing WIP 1


all in all, so far it's been a fun build. I really like the bits of detail on the legs. I'm really not too sure why I brought it out. as I don't think i'll be removing the armor plating at all after this has been completed. BUT WHO KNOWS. maybe when i shoot some photos.
Will be making another post tomorrow showing off the progress I've made on my GM Custom!
Wednesday, February 6, 2013
GOD GUNDAM! Wip and completed gallery!
Look at me. knocking kits out like crazy. (okay so I only built two kits..) but I'm ridiculously proud of this one. another thing of note, I took some advice from my good buddy Dan (you guys know him. GoodguyDan Gunpla! ) as far as photography is concerned. anyway. another really quick build. snapped together my MG God Gundam over the course of the past two or three days. finished it up last night. and I'm really happy with how it turned out.


that's about all I snapped of the WIP process. now the completed kit!


and that's that! i got some really cool shots out of this kit!
a quick rundown of my time spent with the kit:
the inner frame is really nice. it's very different from other MG's where it needs a bunch of screws and uses some weird lock mechanisms to hold everything in place. but nothing feels too loose or too tight (okay maybe the knees a little) and you can get some interesting and very cool poses out of this guy. another odd thing about this kit is it includes rubber pieces for the hands, and the soles of the feet. you get much better grip out of the feet, and the hands still feel solid, although i feel as though they pop out a little more than their plastic counterparts. There's not a massive amount to panel line on this kit, and as far as the kit's posability with armor on, you're not hindered too much from with it off. the arms and shoulders tend to act a little crazy at times with some poses, and the way the hips are constructed restricts your outward leg movement, but it's nothing dealbreaking. you get a pretty decent amount of extra decals with the kit to use as you see fit. as well as ones included in the instructions. so i took some liberties with those and placed them where i thought they'd look good.
one of my favorite parts of this kit is the total opposite of some of my favorite gundams. I love how this kit comes with next to no accessories. this kit is a standalone badass, and just pulling out one of his blades, or switching his hands to burning mode is enough to prove that. the dynamic poses, bundled with the badassery of this kit makes it a sure buy in my book, if you haven't already checked this kit out. one of the few cons i have with it, is the knee was a bit odd to construct, and i broke a tiny piece of plastic off of the cap that surrounds the knee joint. but it still functions properly without it. i also wish some plastic grippy hands were included as well as the rubber ones, so you had the option for more stable connections at the wrist. other than that this kit is gold. go buy one.
LASTLY I don't know what i want to build next (this will be another straight build) i'm taking a night or two off from gunpla, gonna finish cutting out my rex pieces so i can start my Let's build series for that. but you should help me pick what i should build next. your options are as follows!

the f91 gundam, or the zaku f-2! both of these are going to be straight builds. and until i get my next kit in the mail. these are all i have left to straight build. it'll be back to paint projects.
and don't worry, the RGM kit is still in progress, I just haven't done enough to justify making another post about it yet :)
thanks for reading along and checking me out. see you guys next time!
Monday, February 4, 2013
10,000 views, completed Delta Kai photos!
Well, I've been lazy about my blog and my youtube lately. hopefully that changes here soon. I want to thank everybody for checking my blog out, and for getting me to 10,000 views! never thought i'd get that many. so i'm really happy about that. I've been trying to stay motivated and work on a little something whenever I have the time. That said, I got a little free time yesterday, on my day off to finish snapping together my Delta Kai, and I posed him a little (he's so awkward to pose) and snapped some photos, and immediately started my next kit. (you can wait until next post to see what that is ;D)
PICTURE TIME!


and here's my photo setup, nothing too fancy.

a quick overview of the kit:
it's a fantastic little HG kit. a very unique and interesting design, lots of plastic comes with this bad boy. (he's packaged in a box a little thicker than your standard MG) but unless you're planning on painting him, the stickers can be a bit infuriating. the transformation (I didn't build the parts for this) is done with a bunch of extra pieces, which make up at least 2 full runners of parts. It's not too posable, as things get in the way of other things, and some of the armor is quite restricting. the shield/cannon thing on his arm can cause some weight problems when posing with him holding it outward, so don't expect his arm to stay outstretched without the help of some glue or other means.
that being said, it was a fun quick little build, and I'm glad I picked this kit up. if you want something quick to snap together, and don't mind some posing issues, and the amount of stickers, i recommend picking this bad boy up. if you're pressed on painting. it would also be a fun project to get you better acquainted with masking.
see you guys next time!
Wednesday, January 23, 2013
Something a little different. BATTLESTATIONS
So I haven't been in the best of moods lately. So I haven't been too motivated to work, but I'm starting to feel a little better. so regular WIP posts and videos will resume soon. But I didn't want to leave my blog empty for a week. So I thought I'd try something a little different than usual.
I imagine everyone who builds gunpla, or any sort of model, or heck, if you even just build legos. you usually have some sort of setup or place you do it. your workstation if you will. I wanted to show mine off and show off my 'mobile workstation' because I'm not usually at home when I build gunpla.
So lets start things off with my home setup and we'll get into the rest in just a bit.

So first off, we've got my desk. If I'm at home, and building. this is where my building takes place. got a nice light overhead, with plenty of gundam markers and other stuff scattered about. it's a bit messy right now. but you get the idea. It's got most of what I need for basic construction and even some detailing.

another shot of the same desk. still messy.

now this is my airbrush paint station. anytime I wanna paint, I peg up pieces and thin down (if it's not already thinned) my paints. and go to town.

another thing I love about my battlestation is that both of my setups are pretty close to the TV. so I can pop in a movie and enjoy. although sometimes that can lead to distraction. WHICH IS BAD.
Now that you've seen my home setup. I'm not typically home when I'm working on gunpla. Since I work nights, and don't have internet at home I usually hang out at my moms house on my days off, so lots of my actual building gets done there. So instead of carrying handfuls of materials with me wherever i go, I've set up what I call my Mobile Workstation.

Here it is. in all of it's glory (and mess) this box has most of the materials I need to do a straight build of any kit I'm working on.

Pictured here are my gundam realtouch markers, which i use mostly for panel lining, and my gundam paint markers (which i hardly ever use at all), Scissors for cutting bags, or cutting out dry transfers and water slides, some crappy synthetic brushes; which I don't use very often. but I figure it's better to have than to want... just in case i ever need them. Some tamiya masking tape, I don't suppose this really needs to be here because this'll likely only be used in painting. but I keep it in here just in case. Sandwich bags! if you're painting or just seperating pieces. or you stop mid build. these are indispensable. A tripod for my camera, that's self explanatory. a screwdriver, also self explanatory. My video camera, also not sure why this is in here, but it is. never know when i want to videotape something. Tape, for dry transfers mostly. thinner and brush cleaner, for detail painting. and finally my tamiya weathering master kits.

and in the little red box pictured above are my testors paints, my mr hobby cement, some paint holding stuff, a mini cutting mat, some sandpaper, hobby cutters, tweezers, x-acto knives, pin vice, panel scriber, and a handful of other things. nothing too fancy.

and when it's all packed up you can sit a model kit right on top and it doesnt' slip and slide around too much.

this got out of order, so here's another shot of everything sitting out.

you can even pop little SD kits, or HG's in there nicely.

and even your standard sized MG kits fit pretty well, so no worries about carrying too much stuff.
and a few shots of the GM Custom from what I HAVE done to it.

First up, the head has been painted. and so far i'm completely happy with what i've done. have some touching up to do because when re-assembling I chipped the paint on the back.

the grey/black combo works well on the GM i think. and the orange visor looks really slick.

a back shot. you can see the chipped paint from where i was putting the antenna on. gonna touch that up, as well as adding another layer of orange to the back camera.

another shot. you can see the painted vulcan a little better from this angle.

and one last shot. so that's all i've got this time. thanks for checking my stuff out. got some big plans coming up soon I think. hopefully you guys keep following me to see what I've got in store.
another thing. sorry about the bad punctuation and stuff. it's freezing and i'm just trying to knock this post out before i get hypothermia.
See you guys next time!
Subscribe to:
Posts (Atom)